
This guide outlines the professional workflow for modding MENACE, a Unity game using the IL2CPP scripting backend. Because IL2CPP converts C# code into machine-level C++, traditional “drag-and-drop” modding is replaced by a process of reconstruction and injection.
Phase 1: Environment Setup
- MelonLoader: Download and run the MelonLoader installer (link). Select Menace.exe if the game wasn’t found and click install. This acts as the bridge that allows your custom code to run within the game.
- UnityExplorer: Download the MelonLoader version of UnityExplorer (link). Unzip the archive to the game’s folder.
- Visual Studio: Install Visual Studio with the .NET Desktop Development workload (download from microsoft.com). This is where you will write your actual mod.
Phase 2: Reverse Engineering (Finding the Code)
Since you cannot read the GameAssembly.dll directly, you must “dump” its metadata to see the original C# structures.
- Il2CppInspectorPro (download link): Use this tool to generate a “scaffold” for your project.
- Select option 1
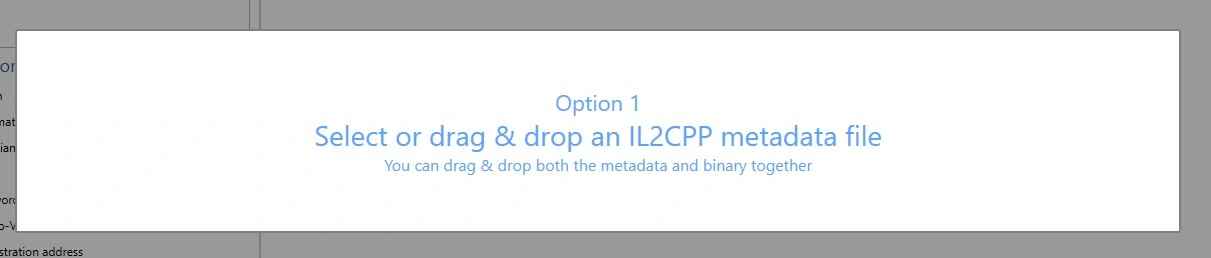
And select the metadata file located in MENACE\Menace_Data\il2cpp_data\Metadata\global-metadata.dat. Wait for the program to process the file. - Then select GameAssembly.dll located in game’s root folder.
- In the main window select .NET assembly shim DLLs:

- And click Export. Select the folder where you want to export DLLs.
- This will generate Dummy DLLs (assemblies that have the names of classes and methods but no logic) and a C++ modding SDK.
- Select option 1
- dnSpy (download): Open the generated Assembly-CSharp.dll in dnSpy. While you won’t see the method logic (return null;), you will see the exact Method Names, Class Names, and Namespaces needed to write your hooks.
Phase 3: Real-Time Debugging
Launch the game with MelonLoader and UnityExplorer active.
- Use UnityExplorer to search for the classes you found in dnSpy.
- Live Testing: Modify values in the Inspector to see if they actually affect the game.
- REPL Console: Type short C# snippets to trigger game events (like spawning items) before writing them into your permanent mod.
Phase 4: Writing the Mod (Visual Studio)
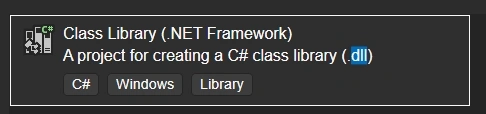
- Create a new Class Library (.NET Framework) (.dll) project. It should have the icon of C#:
- Add References: Right-click References and add:
- MelonLoader.dll (from the game folder).
- The Dummy DLLs generated by Il2CppInspectorPro (like Assembly-CSharp.dll).
- The Hook: Use the Harmony library (included with MelonLoader) to patch game functions.
Example: Create a [HarmonyPatch] for a method you found in dnSpy to change its return value or execute your own code before/after it.
Phase 5: Deployment
- Build your project in Visual Studio to generate a .dll file.
- Copy your mod .dll into the MENACE/Mods folder.
- Launch the game; MelonLoader will automatically load your code.
Join modding discord and ask questions!
Hey man. Please, make a guide how to mod asset files. I’ve tried to extract some perks, but they are .dat file and I don’t know how to open them.
Hi! Not an expert in modding assets, to be honest.